
The installation will be in the home directory of Ubuntu, specifically in the android-x86 folder, you can set any other folder name, but make sure you set it correctly in the commands given below.
Getting Started
Download the Android-x86 4.0 iso file to your home directory (inside the "android-x86" folder) with the following commands:
mkdir ~/android-x86/ && cd ~/android-x86/
wget -O android-x86-4.0.iso http://goo.gl/zDvR6
Install now QEMU with the following command:
sudo apt-get install qemu-kvm
Let's now create a virtual machine called android-4.0.img, you can rename it to whatever you want. The size for this virtual machine is 1GB, you can set it to any other value depending on the free space you have.
Create it now with this command:
qemu-img create ~/android-x86/android-4.0.img 1G
To start the installation, run these commands:
cd ~/android-x86/
kvm -m 512 -cdrom android-x86-4.0.iso -hda android-4.0.img -boot d
Note: the -m 512 parameter is used to set the memory size for the virtual machine, you can adjust it to whatever you want.
In the fisrt screen, select " Installation - Install Android-x86 to harddisk" and press Enter:

In the next screen, select "Create/Modify partitions" and press Enter:

In the "cfdisk" screen, select "New" and press Enter:

Keep the "Primary" option selected and press Enter:
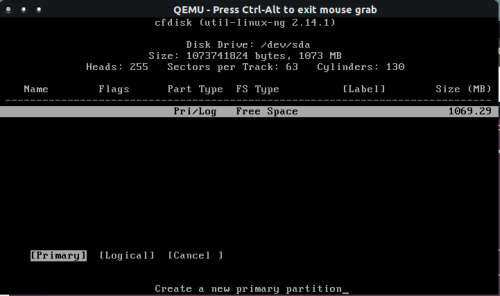
You will be prompted now to enter disk size, press simply Enter to use all available disk space:

Select the "Bootable" option and press Enter:

The disk must be marked as bootable under the "Flags" label, then select "Write":

Type "yes" to confirm. After the operation is complete, quit the current screen:

The disk already created will now show up in the partition selection screen, select it and press Enter:

Select now the "ext3" filesystem and press Enter, then confirm your action:


If you receive this error:
cannot mount /dev/sdaX
Then select the " ntfs" file system instead and repeat the operation. You will be then prompted whether to install or not the GRUB boot loader, select "Yes" and press Enter:

The next screen is optional, which is needed for debugging and may take much disk space. So, select "No" and press Enter:

When the installation is successful, you will get this screen:

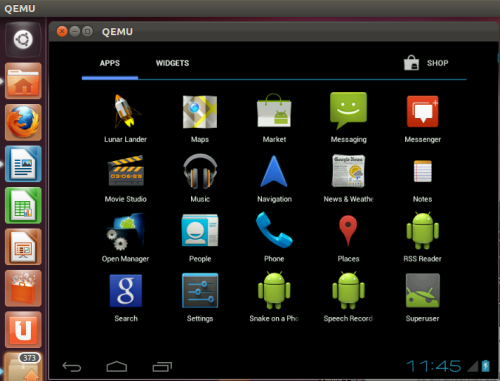
Select "Reboot" and press enter. Wait now while Android-x86 4.0 is starting up:


You can start later the Android OS with this command from the terminal:
kvm -m 512 -hda ~/android-x86/android-4.0.img
Note: Tested under Ubuntu 11.10 (Oneiric Ocelot) and Ubuntu 12.04 (Precise Pangolin) and may work in older versions of Ubuntu (11.04/10.10, etc.).
Source : http://www.upubuntu.com/2012/03/how-to-install-android-x86-40-using.html
No comments:
Post a Comment