This guide shows how to install Teamviewer 9 on Linux (RedHat, CentOS, Fedora and Debian, Ubuntu, Linux Mint, Xubuntu) systems. Teamviewer
is a one of the most popular application for remote assistant, Desktop
sharing or transferring files between computers, web conferencing and
online meetings etc. Teamviewer is a proprietary application. However,
it’s a freeware for personal use. Teamviewer is available for Windows, Linux, Mac OS, Android and iPhone.
Teamviewer uses WINE application which is integrated within it. We don’t have to install WINE application separately. Teamviewer is not a native Linux application.
Recently, the latest stable version of TeamViewer 9 released with new features and many improvements. Following are some of the new features are added in TeamViewer 9 which are highlighted below:
Let us start installation. Go to the directory from where you have downloaded package and execute following yum command to install it. It will install missing dependencies.
If you get missing public key error, you can download public key and import it using the following command.
After importing the public key, please run the “yum install” command again to install the Teamviewer rpm.
To start Teamviewer application, run the following command from the terminal.
Once you’ve downloaded the package, go to the directory where you’ve downloaded Teamviewer package and run the following command to install it.
If you get missing dependencies error, please use the following command to install those dependencies.
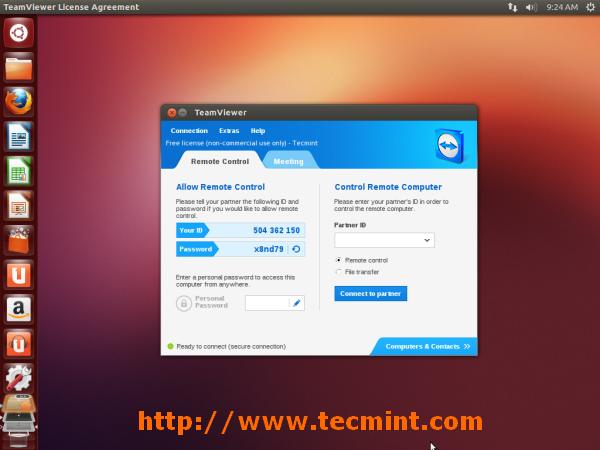
Once installation is done. To start Teamviewer package on Ubuntu Linux, go to Dash Home and type teamviewer and click on teamviewer icon to run application.
Teamviewer application running on my Ubuntu 13.10 system.
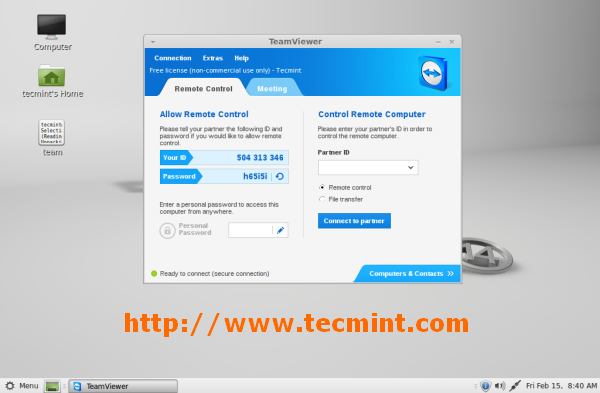
To start on Linux Mint, Go to Menu >> Internet >> Teamviewer and click on Accept License
Agreement to run application.
Teamviewer application running on my Linux Mint 15.
Teamviewer uses WINE application which is integrated within it. We don’t have to install WINE application separately. Teamviewer is not a native Linux application.
Recently, the latest stable version of TeamViewer 9 released with new features and many improvements. Following are some of the new features are added in TeamViewer 9 which are highlighted below:
Features for Windows, Linux and Mac
- Open multiple connections in different tabs
- Support for Wake-on-LAN
- Added two factor authentication for TeamViewer accounts
- Support for Windows 8.1 and Mac OS X Mavericks
- Save custom modules such as QuickSupport, QuickJoin, etc.
- API Integration
- Stronger security of the Teamviewer account
- Quick connection via desktop shortcut
- Visual notification
- Copy and paste files and text between computers
- Initiating file transfers to computers
- Quick connection via desktop shortcut
- Faster video transfers
How do I Install Teamviewer 9 on RedHat, CentOS, Fedora
You may download package for rpm based Linux distributions at teamviewer_linux.rpm.Let us start installation. Go to the directory from where you have downloaded package and execute following yum command to install it. It will install missing dependencies.
# wget http://www.teamviewer.com/download/teamviewer_linux.rpm
# yum install teamviewer_linux.rpm
If you get missing public key error, you can download public key and import it using the following command.
# wget http://www.teamviewer.com/link/?url=354858
# rpm --import TeamViewer_Linux_PubKey.asc
After importing the public key, please run the “yum install” command again to install the Teamviewer rpm.
To start Teamviewer application, run the following command from the terminal.
# teamviewerTeamviewer application running on my Fedora 18 system.
Running TeamViewer in Fedora 18
How do I Install Teamviewer 9 on Ubuntu, Linux Mint, Xubuntu
You may download teamviewer package for 32-bit or 64-bit systems at teamviewer linux .deb packages. or you can download the package using wget command as shown below.## 32 Bit System ## $ sudo wget http://www.teamviewer.com/download/teamviewer_linux.deb
## 64 Bit System ##
$ sudo wget http://www.teamviewer.com/download/teamviewer_linux_x64.deb
Once you’ve downloaded the package, go to the directory where you’ve downloaded Teamviewer package and run the following command to install it.
## 32 Bit System ##
$ sudo dpkg -i teamviewer_linux.deb
## 64 Bit System ##
$ sudo dpkg -i teamviewer_linux_x64.deb
If you get missing dependencies error, please use the following command to install those dependencies.
sudo apt-get install -f
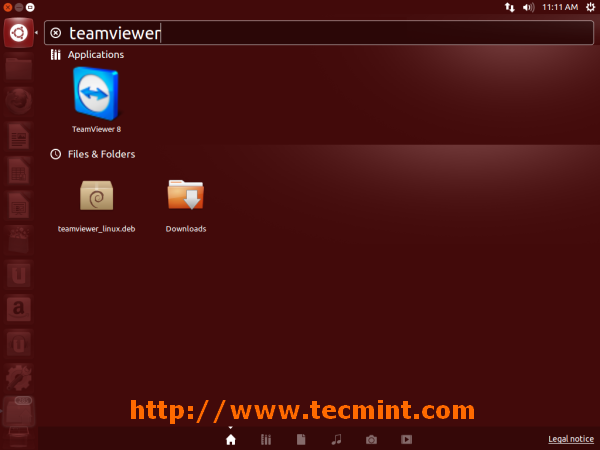
Once installation is done. To start Teamviewer package on Ubuntu Linux, go to Dash Home and type teamviewer and click on teamviewer icon to run application.
Running TeamViewer in Ubuntu 13.10
TeamViewer 9 Under Ubuntu 13.10
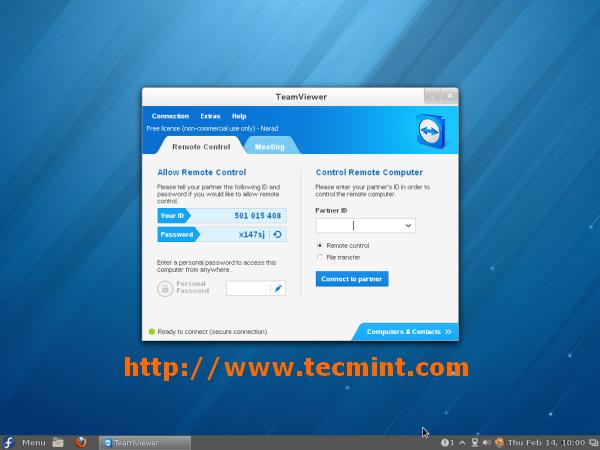
To start on Linux Mint, Go to Menu >> Internet >> Teamviewer and click on Accept License
Agreement to run application.
Teamviewer application running on my Linux Mint 15.
Running TeamViewer in Linux Mint 15
Source : http://www.tecmint.com
Source : http://www.tecmint.com