You can use any one of the following command line utility to add, delete, display, or manipulate the Linux kernel routing table on CentOS and friends:
- ip command - A CentOS Linux command line tool to print / manipulate routing, devices, policy routing and tunnels.
- route command - Older command line utility to show or manipulate the Linux kernel routing table. I suggest that you use ip command instead of route command. This command exists for historical and compatibility reasons only.
- /etc/sysconfig/network - Edit this file to set default gateway IP address.
- /etc/sysconfig/network-scripts/route-ethX - Edit this file to set additional static gateway IP address.
CentOS: Displaying current routing table
Type any one of the following command:# netstat -nr
# route -n
# ip route listSample outputs:
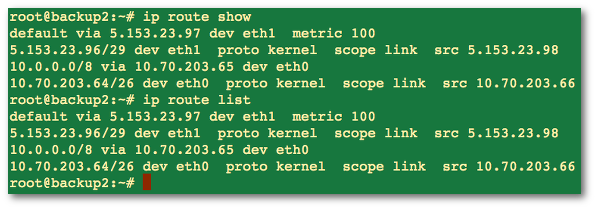
Fig.01: ip command displaying current CentOS Linux routing table
Warning:
It is important that you configure routing correctly over ssh based
session; otherwise, you will be locked out due to wrong network
configuration.
CentOS Linux add a default gateway
In this example, route all traffic via 192.168.1.254 gateway connected via eth0 network interface. The following command will set a default gateway for both internal and external network (if any):# route add default gw 192.168.1.254 eth0OR
# ip route add 192.168.1.0/24 dev eth0You can make routing changes persistent across CentOS Linux server reboots.
To set default gateway edit /etc/sysconfig/network as follows:# cat /etc/sysconfig/networkSample configuration file:
NETWORKING=yes
## server name ##
HOSTNAME=server1.cyberciti.biz
## Default route ##
GATEWAY=192.168.1.254
NETWORKING_IPV6=yes
IPV6_AUTOCONF=no
Save and close the file. Restart the networking service on CentOS Linux, type:
# service network restart
 # ip route list
To verify new settings ping to the default gateway and external network:
# ping 192.168.1.254
 # ping www.cyberciti.biz
 # host google.com
CentOS Linux static routing config for eth1 interface
The following is a sample route-eth1 file. The default gateway set to 192.168.2.254, interface eth1. The static route is 10.10.29.65 for 10.0.0.0/8 network:# cat /etc/sysconfig/network-scripts/route-eth1Sample configurations:
default 192.168.2.254 dev eth1
10.0.0.0/8 via 10.10.29.65 dev eth1
Alert: For eth0 interface use /etc/sysconfig/network-scripts/route-eth0 file. Avoid setting duplicate default gateways; either use /etc/sysconfig/network or /etc/sysconfig/network-scripts/route-ethX file. Do not use both files to configure default gateways.
A note about GUI/TUI tool
If you don't have X windows GUI (gnome/kde desktop) installed on CentOS server / system, than type the following command at shell prompt. This method can only set the default gateway. It can not be used to set additional static routing for interface. Type the following command:# system-config-network-tui &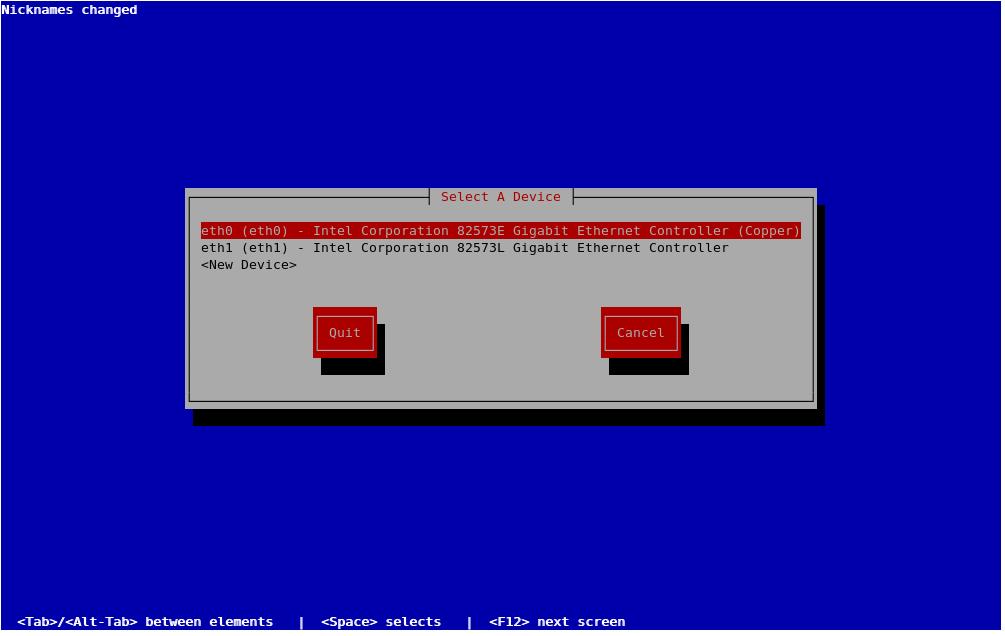
Fig.01: CentOS command line network config tool (click to large)
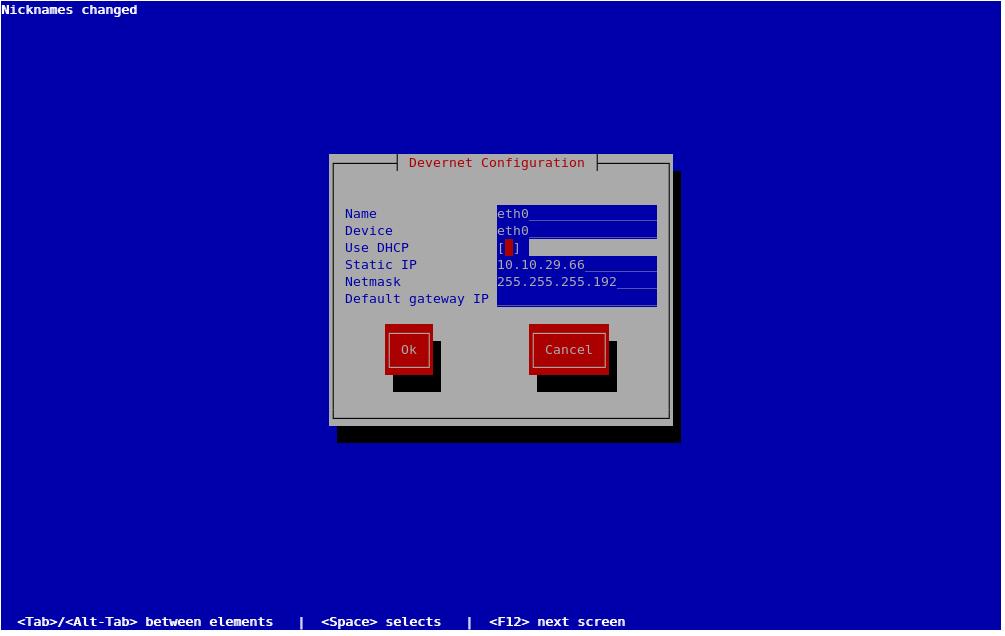
Fig.02: Setting up IPv4 properties on CentOS including default gateway